Creating artwork for saddle stitched brochures is easier than you think. This guide will show you how to make your brochure design perfect for saddle stitch binding. You’ll learn about using the right template, adjusting bleed settings, and exporting files for printing.
Saddle stitched brochures are great for many marketing needs. They’re affordable and work well for things like instruction manuals, catalogs, and newsletters. Knowing what’s needed for this binding method will help you get professional-looking results every time.
Key Takeaways:
- Understand the basics of saddle stitched brochure printing
- Learn how to set up artwork using the right templates and bleed settings
- Discover the differences between reader’s spread and printer’s spread
- Explore best practices for designing in Adobe InDesign
- Ensure your files are print-ready with our prepress guidelines
Understanding Saddle Stitched Brochure Printing
What is Saddle Stitched Brochure Printing?
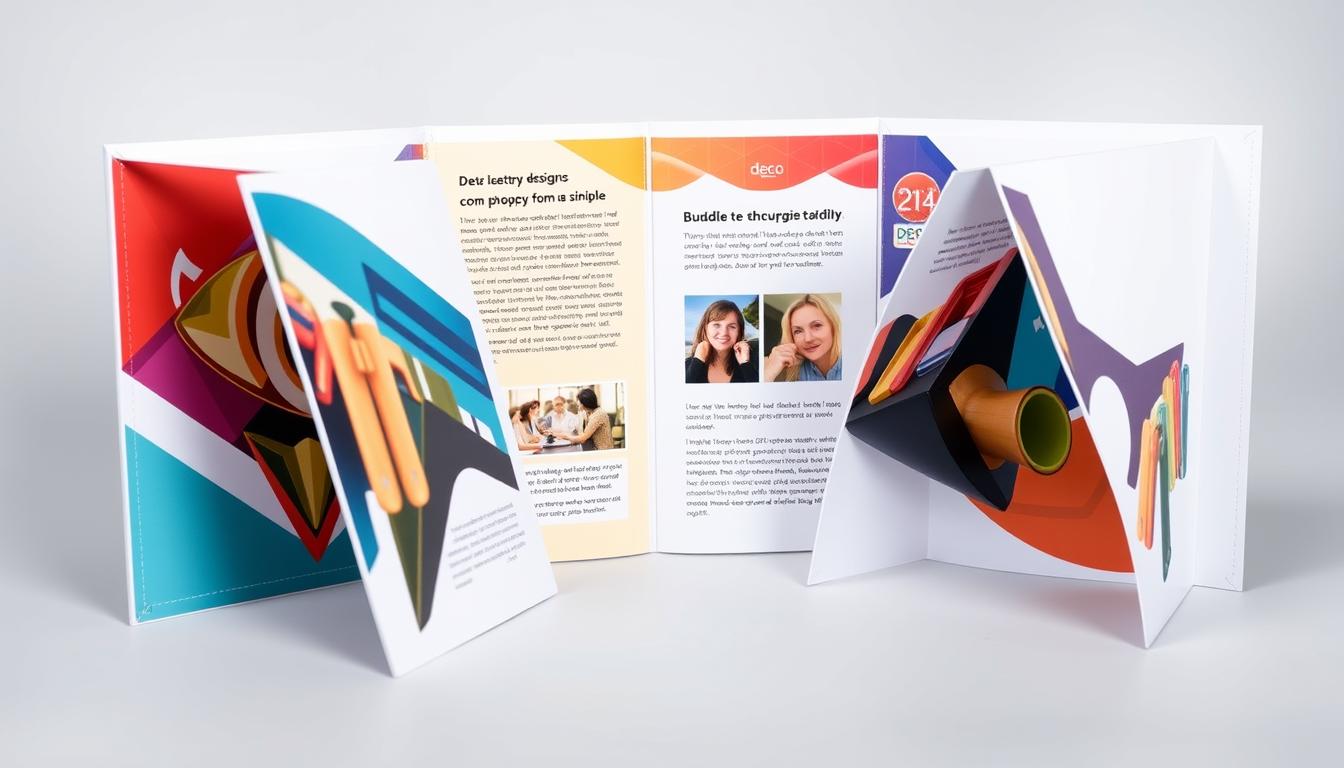
Saddle stitched brochure printing is a common way to bind pages. It folds and staples them at the center, making a neat booklet. This method is great for small booklets, brochures, and magazines. It lets you print on both sides of the page.
Benefits of Saddle Stitched Brochures
Saddle stitched brochures have many benefits. They are perfect for marketing materials and guides. Here are some key advantages:
- They are compact and easy to handle, making them great for distribution.
- They are cost-effective because of the simple folding and stapling process.
- You can print on both sides of the page, which maximizes content.
- They work well for a variety of page counts, usually between 8 and 76 pages.
- They have a lay-flat design, making them easy to read and view.
- They are perfect for high-speed, automated printing for big print runs.
Saddle stitched brochures are a budget-friendly option for businesses. They look professional and are practical for many uses.
“Saddle stitching is a cost-effective and efficient binding method for booklets, catalogs, and other printed materials with a page count under 92 pages.”
How to set up artwork for Saddle Stitched Brochure printing
Creating professional-looking saddle stitched brochures starts with the right artwork setup. Begin by picking one of the downloadable brochure templates from Printing.com.sg. These templates are made for the saddle stitch binding style. They ensure your layout fits perfectly with the final product.
Adjusting Bleed Settings
Then, adjust your bleed settings to 3mm on all sides. This extra area helps prevent white edges or gaps when trimming. Make sure all important text and images are at least 7mm from the edges to avoid being cut off.
Separating Covers and Pages
For the page layout, it’s key to separate covers and pages in a printer’s spread. This correct arrangement is vital for the folding and binding process. For an 8-page saddle stitched brochure, you’ll need two sheets of paper, each with 4 pages.
Spending time on setting up your cover design and file setup will make printing smoother. It will also help you get the professional results you want.
“Attention to detail in the design process is essential to ensure the final artwork meets the printing requirements for saddle stitched brochures.”
Setting Up Pages for Saddle Stitched Brochures
When designing your saddle stitched brochure, it’s key to know the difference between a reader’s spread and a printer’s spread. A reader’s spread shows the pages in the order you’ll read them. A printer’s spread arranges pages for folding and binding.
Reader’s Spread vs. Printer’s Spread
The reader’s spread shows the pages as they’ll appear in the final brochure. It reflects the natural flow of content. The printer’s spread, however, arranges pages for the correct sequence after folding and binding.
Single Page Spread vs. Double Page Spread
When setting up your brochure pages, you must choose between a single page spread or a double page spread. Double page spreads are often used for center pages. They ensure consistent color and alignment.
Printers usually prefer individual pages over two-page spreads for saddle-stitched booklets. This makes the production process easier. Also, the page count must be a multiple of four, like 8, 12, or 16 pages, for proper folding and binding.
“It’s crucial to communicate clearly if the inside of the booklet’s cover will contain printing or remain blank to avoid any confusion during production.”
Understanding the differences between reader’s and printer’s spreads, and single and double page layouts, helps set up your pages. This way, you can create a professional-looking saddle stitched brochure.
Designing in Adobe InDesign
Adobe InDesign is a top choice for creating professional brochures. It helps you set up pages, manage spreads, and export files for printing. By using best practices for brochure design, layout, and InDesign, you can make a stunning brochure ready for printing.
Start with the right template for your brochure. Use a resolution of 300 dpi and a bleed size of 3mm on all sides. Also, keep text and images at least 7mm from the edge, and text should be 10mm from the gutter.
Understanding spreads is key. The reader’s spread shows how pages look open, while the printer’s spread is for printing and binding. InDesign helps switch between these views for the best design.
“Designing a brochure in InDesign is all about attention to detail and understanding the print production process. By following best practices, you can create a professional-looking piece that’s sure to impress your clients.”
With Adobe InDesign, you can create a stunning brochure. It grabs your audience’s attention and makes a lasting impression. Stick to the recommended guidelines for a great print run.
Exporting Files for Print
When it’s time to get your Saddle Stitched Brochure ready for printing, there are key steps to take. In Adobe InDesign, pick the “Adobe PDF (Print)” format and the “PDF/X-4:2008” preset. Make sure your bleed settings are right, and check the final PDF before sending it to Printing.com.sg.
Exporting Settings in InDesign
Exporting your InDesign file correctly is key for print-ready files. Here’s a quick guide to help you export smoothly:
- Choose the “Adobe PDF (Print)” format in the Export window.
- Select the “PDF/X-4:2008” preset for the best PDF settings for print.
- Check that your bleed settings are set to 3mm on all sides.
- Look over the final PDF to make sure everything looks right.
Checklist for Exporting Files
Before you export your Saddle Stitched Brochure design, check this list:
- Make sure all pages are in the right InDesign export order.
- Double-check your bleed settings are correct.
- Confirm all fonts are embedded in the PDF.
- Check that all images are high-resolution and in CMYK color mode.
- Review the final PDF to catch any export issues.
By following these steps, you can be sure your Saddle Stitched Brochure design is ready for professional printing at Printing.com.sg.
Prepress Guidelines for Saddle Stitched Brochures
To get the best quality for your Saddle Stitched Brochure, follow Printing.com.sg’s prepress guidelines. Use the right file formats, keep a minimum resolution of 300 dpi, and work in CMYK color mode. Also, make sure to include the correct bleed settings. Following these steps will help avoid printing problems and ensure top-notch results.
File Formats and Resolution Requirements
The best file format for printing Saddle Stitched Brochures is a high-resolution PDF. This format ensures all elements are embedded and ready for printing. When creating your PDF, set the resolution to at least 300 dpi for sharp, clear prints.
Color Mode and Bleed Settings
Design your brochure in CMYK color mode for the best results. This color space is perfect for offset printing. Also, add a bleed of at least 3 mm (0.125 inches) on all sides. This ensures a smooth, edge-to-edge print.

“Adhering to Printing.com.sg’s prepress guidelines will help ensure your Saddle Stitched Brochure prints at the highest possible quality.”
By sticking to these prepress guidelines, you can trust that your Saddle Stitched Brochure will be printed with care. This will result in a professional and eye-catching final product.
Print-Ready Files for Saddle Stitch Binding
After designing your Saddle Stitched Brochure, you’re ready to send it to Printing.com.sg. Their team will check your files to make sure they’re perfect for printing. This ensures your brochure looks just as you imagined, showcasing your brand’s style.
Saddle-stitched booklets are great for many types of print materials. They’re affordable for small print runs and quick to produce. You can choose from various paper sizes, weights, and finishes to match your brochure’s look.
| Binding Method | Suitable for | Advantages |
|---|---|---|
| Saddle Stitching | Magazines, catalogs, event programs (up to 48 pages) | Cost-effective, quick turnaround, versatile paper options |
| Perfect Binding | Larger or more complex projects | Ideal for thicker volumes |
| Spiral Binding | Manuals, notebooks | Durable and flexible |
To make your Saddle Stitched Brochure printing a success, follow some key steps. Use the right template, adjust bleed settings, and separate covers and pages. These details will help you create top-notch print-ready files for your saddle stitch binding and brochure printing project.
“Saddle stitching is an affordable and efficient binding method that can help your brochure stand out with a sleek, professional look.”
Printing with Printing.com.sg
When it’s time to bring your Saddle Stitched Brochure to life, Printing.com.sg is the go-to platform for a seamless printing experience. Their user-friendly website makes it easy to place your order and upload your print-ready files. This ensures your project comes to fruition without a hitch.
Placing an Order
Navigating the order process on Printing.com.sg is a breeze. Just head to their website, select the brochure printing service, and follow the guided steps. You’ll input your project details, choose the desired specifications, and complete the transaction. The team at Printing.com.sg is available to assist you throughout the process, addressing any questions or concerns you may have.
Uploading Files
Preparing your artwork for printing is a crucial step, and Printing.com.sg makes it easy. Once you’ve set up your files according to their guidelines, you can seamlessly upload them directly to the website. The team at Printing.com.sg will review your files to ensure they are print-ready. This gives you peace of mind that your brochure will be produced to the highest quality standards.
| Key Considerations | Recommendations |
|---|---|
| Bleed | Ensure a 3 mm bleed on all edges of your artwork |
| Image Resolution | Use images with a minimum resolution of 300 DPI |
| Color Mode | Convert your files to CMYK color mode |
| File Format | Submit your files in the PDF/X-1a format |
With Printing.com.sg, you can trust that your brochure printing project is in good hands. Their team of experts is dedicated to ensuring a seamless online printing experience. From order process to file upload, they make it easy for you. So, you can focus on creating a stunning brochure that captivates your audience.

Troubleshooting Common Issues
Setting up, designing, or exporting your Saddle Stitched Brochure can sometimes be tricky. But, the team at Printing.com.sg is here to help. They can solve any problems you might face.
File formatting errors are a common issue. The Printing.com.sg team can help you set up your files correctly. They’ll make sure your artwork is ready for printing. They can also help with bleed settings, color mode, and resolution to meet brochure standards.
If you’re having trouble with printing or your file, the team is here to help. They can find the problem fast and offer solutions. Their knowledge in fixing printing issues can save you time and ensure your brochure looks great.
| Issue | Resolution |
|---|---|
| File Formatting Errors | The Printing.com.sg customer support team can guide you through proper file setup and export settings to ensure your artwork is print-ready. |
| Bleed Setting Concerns | The customer support team can help you with the correct bleed settings to meet the prepress guidelines for Saddle Stitched Brochures. |
| Color Mode and Resolution Issues | The team can assist you in addressing concerns related to color mode and resolution requirements for your Saddle Stitched Brochure project. |
| Other Printing Problems | The customer support experts can quickly identify and resolve any other printing issues you may face, ensuring a smooth printing process. |
If you run into any problems, don’t hesitate to contact Printing.com.sg’s customer support. They’re committed to helping you. They’ll provide the help you need to make your Saddle Stitched Brochure a success.
Conclusion
Now you know how to set up your artwork for Saddle Stitched Brochure printing with Printing.com.sg. You’ve learned about using the right templates and adjusting bleed settings. You also know how to export your files for print-ready submission.
This guide has shown you the importance of saddle stitched brochures. You understand how to set up your pages and artwork correctly. And you know how to make sure your files are ready for printing.
With the help of Printing.com.sg, you can confidently start your brochure project. You’ll get the results you want. Remember, this guide is here to help you as you move forward with your printing journey.
If you have more questions or need help, the Printing.com.sg team is ready to assist. They want to make sure your brochure printing experience is smooth and successful.
FAQ
What is Saddle Stitched Brochure Printing?
Saddle stitched brochure printing is a method that folds and staples pages at the center. It makes a professional and affordable booklet.
What are the benefits of Saddle Stitched Brochures?
Saddle stitched brochures have many benefits. They have a clean finish and can be printed on both sides. They are also compact and easy to handle, perfect for marketing and guides.
How do I set up the artwork for Saddle Stitched Brochure printing?
Start by using a template from Printing.com.sg. Make sure to set bleed to 3mm on all sides. Keep text and images at least 7mm from edges. Arrange covers and pages in a printer’s spread for the folding and binding.
What is the difference between a Reader’s Spread and a Printer’s Spread?
A Reader’s Spread shows pages in reading order. A Printer’s Spread prepares pages for folding and binding.
What software is best for designing Saddle Stitched Brochures?
Adobe InDesign is great for designing Saddle Stitched Brochures. It helps set up pages, manage spreads, and export files for printing.
How do I export my Saddle Stitched Brochure design for printing?
Export your design in Adobe InDesign as “Adobe PDF (Print)” and “PDF/X-4:2008”. Check bleed settings and review the PDF before sending to Printing.com.sg.
What are the prepress guidelines for Saddle Stitched Brochures?
Follow Printing.com.sg’s guidelines for high-quality printing. Use high-resolution PDFs, 300 dpi resolution, CMYK color mode, and correct bleed settings.
How do I place an order and upload my files for Saddle Stitched Brochure printing with Printing.com.sg?
Place your order and upload files on the Printing.com.sg website. The team is ready to help with any questions.
What should I do if I encounter any issues during the process of setting up, designing, or exporting my Saddle Stitched Brochure?
Contact Printing.com.sg’s customer support for any issues. They can solve problems like file errors or bleed settings to ensure perfect printing.
Resources:
Explore our curated list of recommended resources for printing, design, and free media assets. Whether you need professional printing services, free design templates, or royalty-free photos for your next project, these reliable sites have you covered.1. Printing & Design
- Printing Inc. Description: Singapore-based online printing service offering a variety of print products such as business cards, flyers, brochures, and custom stickers with professional design services.
- Namecards Inc. Description: Specialist in name card printing, providing a wide range of custom designs, finishes, and materials for high-quality business cards.
- Kian Hong Press Description: Established corporate printing company in Singapore, offering solutions for brochures, catalogs, annual reports, and other corporate stationery.
2. Free Design Templates
- Canva Description: Offers a wide range of free and customizable templates for various needs, including presentations, posters, social media, and marketing materials.
- FreePik Description: Provides thousands of free and premium templates for brochures, flyers, business cards, and more, along with editable vector illustrations and graphics.
- Piktochart Description: Focused on data visualization and professional templates for infographics, posters, presentations, and reports, with both free and premium options.
3. Free Royalty-Free Photos
- Pexels Description: Offers high-quality, free stock photos and videos shared by talented creators for commercial and personal use without attribution.
- Unsplash Description: A large collection of beautiful, high-resolution images contributed by photographers worldwide, available for free use in any project.
- Pixabay Description: A community-driven platform offering copyright-free photos, illustrations, and videos for use in any creative project, with no licensing restrictions.


