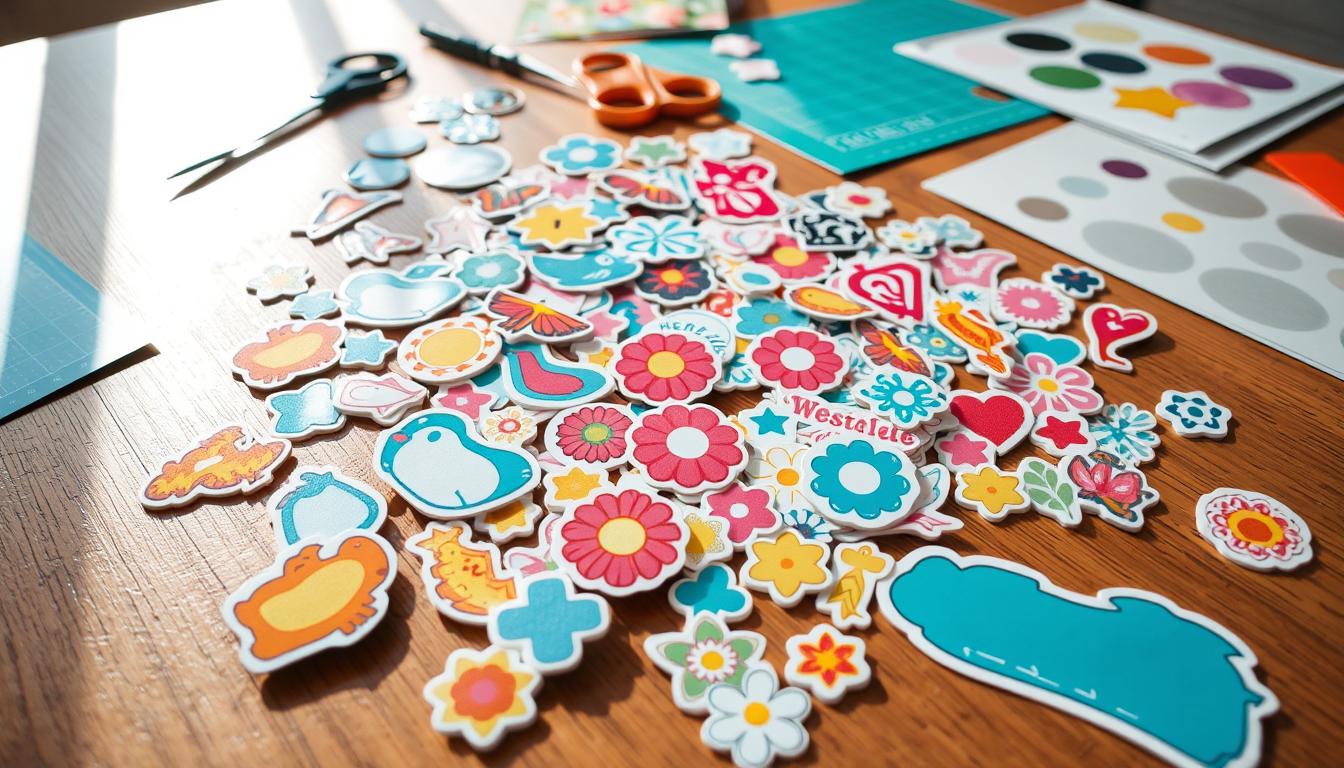
Unleash your creativity and personalize your world with DIY stickers! They’re a fun and affordable way to express your style. You can add a unique touch to your belongings, promote your brand, or create custom decor. In this guide, we’ll show you how to make your own stickers, from design to printing and cutting.
Key Takeaways
- Discover a range of design tools, from professional software like Adobe Illustrator to user-friendly apps like Procreate, to create your custom sticker designs.
- Learn about the best paper types and printing techniques to achieve high-quality, durable stickers at home or through professional printing services.
- Explore cutting methods, including using scissors, craft knives, and cutting machines like Cricut, to precisely shape your stickers.
- Understand the differences between kiss-cut and die-cut stickers, and choose the option that best suits your needs.
- Unlock your creative potential with unique DIY sticker ideas, from branding and wedding decor to personalized stickers for your laptop or water bottle.
Start your DIY sticker journey and make ordinary surfaces extraordinary. Get ready to peel, stick, and admire your own handcrafted creations!
What Materials Do You Need to Make Stickers?
Making your own custom stickers is easy with the right tools. You’ll need design software, sticker paper, a printer, and cutting tools. Let’s explore what you need to start.
Design or Illustration Tools
You’ll need graphic design software or illustration tools to create your sticker design. Adobe Creative Cloud is a top choice, with programs like Photoshop and Illustrator. Canva is also great, offering a free plan for simple designs.
Sticker Paper
Choosing the right sticker paper is key. Matte sticker paper is good for shipping labels or planner stickers. Glossy sticker paper is available in clear and opaque, perfect for many uses. For durability, go with vinyl sticker paper, which is waterproof and UV-protected.
Printer
Inkjet printers are best for image-heavy designs and are common in homes. Laser printers are faster and better for large quantities, especially for text.
Cutting Tool
After printing, you’ll need to cut out your stickers. Use scissors or a craft knife for basic cuts. For precision, consider a cutting machine like the Cricut Explore Air 3 or Silhouette Cameo 4.
With these materials, you’re ready to make your own stickers. The trick is finding the right tools and materials for your needs.
How to Design Your Own Stickers
Making your own custom stickers is a fun DIY project. You can create them for personal use, business branding, or to sell. Using tools like Wacom Intuos drawing tablets or an iPad Pro with an Apple Pencil lets you draw your designs by hand. This gives your stickers a unique, handmade look.
If you prefer digital design, there are many sticker design software options. Canva, Cricut Design Space, and the Adobe Creative Cloud suite are great choices. They let you design your stickers from scratch, giving you full control.
Choosing your design method is important. It’s all about being creative and trying out different sticker design ideas. With the right tools and practice, you can make stickers that are truly unique. They will make your projects stand out.
| Design Tool | Pros | Cons |
|---|---|---|
| Wacom Intuos | Precise control, natural drawing experience | Requires additional hardware investment |
| iPad Pro with Apple Pencil | Portable, versatile, digital drawing capabilities | Higher initial cost compared to other options |
| Canva | User-friendly, web-based, wide range of templates | Limited advanced design features |
| Cricut Design Space | Integrated with Cricut cutting machines, easy to use | Requires Cricut hardware for full functionality |
| Adobe Creative Cloud | Powerful design tools, professional-level features | Steeper learning curve, subscription-based |
Trying out different sticker design software and tools can help you find what works best for you. With the right tools and a bit of creativity, you can make amazing, personalized stickers. They will add a special touch to any project.
Printing Your Custom Sticker Designs
Making your own stickers at home is more than just designing. You need to print them right to get professional results. Choosing the right materials and techniques is key for sticker printing.
Start by picking high-quality sticker paper that fits your printer. You can choose from matte, glossy, or vinyl. Do a test print on regular paper first. This ensures your design looks right and lets you make changes before using sticker paper.
Using Laminating Sheets
Laminating sheets are a smart way to make your custom sticker printing last longer. They protect your stickers from water, tears, and fading. This is great for stickers meant for outside or places with lots of people.
To laminate your stickers, print your design on sticker paper. Then, place it between two clear laminating sheets. Put it through a laminator, following the instructions. Once it cools, trim the stickers to shape with scissors or a cutting machine.
Investing in the right materials and techniques can improve your DIY sticker skills. You’ll make laminating stickers that are durable and professional-looking.
Cutting Out Your Printed Stickers
After designing and printing your stickers, it’s time to cut them out. You can use scissors or a craft knife, or a cutting machine like the Cricut.
Cutting with Scissors or Craft Knife
For cutting by hand, take your time and follow the sticker design closely. Use sharp scissors or a craft knife for clean cuts. This way, you can make each sticker unique.
Using a Cutting Machine like Cricut
Using a Cricut or similar machine can make cutting easier. These machines cut around your designs accurately, saving time. Cricut machines are great for a professional look.
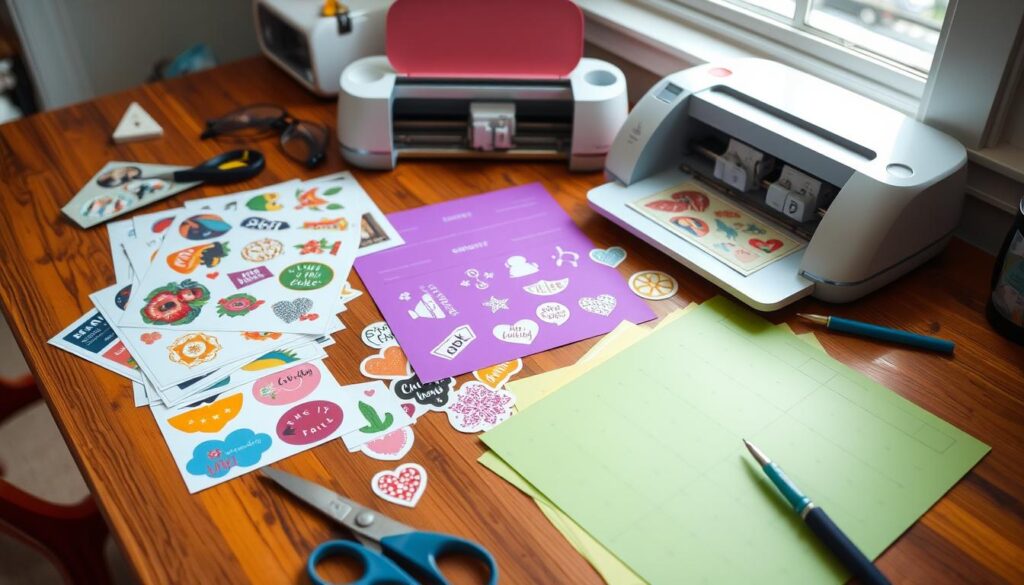
Choose your method wisely. Take your time and handle your stickers carefully for the best results. With practice, you’ll cut out stickers like a pro!
The Ultimate Guide to Making Your Own Stickers
Making your own stickers is a fun way to show off your creativity and style. It’s great for personal use or for a business. With the right tools, you can make stickers that show off your unique taste.
DIY stickers have become more popular over the last five years. More people are making stickers for personal or business reasons. Small businesses see a 25% increase in customer interest when they use custom stickers.
To start, you’ll need design tools, sticker paper, a printer, and a cutter. Use software like Canva, Cricut Design Space, or Adobe Creative Cloud to design your stickers. Print them on sticker paper and cut them out with scissors or a Cricut.
There are many types of sticker paper to choose from. Clear, white, matte, and holographic papers offer different looks. For detailed designs, use transfer tape for easy application.
The demand for sticker-making tools has grown by 20% in a year. This shows more people are into making their own stickers. Professional sticker printing services have also seen a 15% increase in demand.
Sticker Mule is a top choice for sticker printing. The author of this guide tried several services before choosing Sticker Mule. They ordered over 1,000 stickers for their “Have the Best Day Ever” design.
Whether you’re new to crafting or experienced, making stickers is rewarding. With the right tools and creativity, you can turn your ideas into real stickers. Use them, share them, or even sell them.
Kiss-Cut vs Die-Cut Stickers
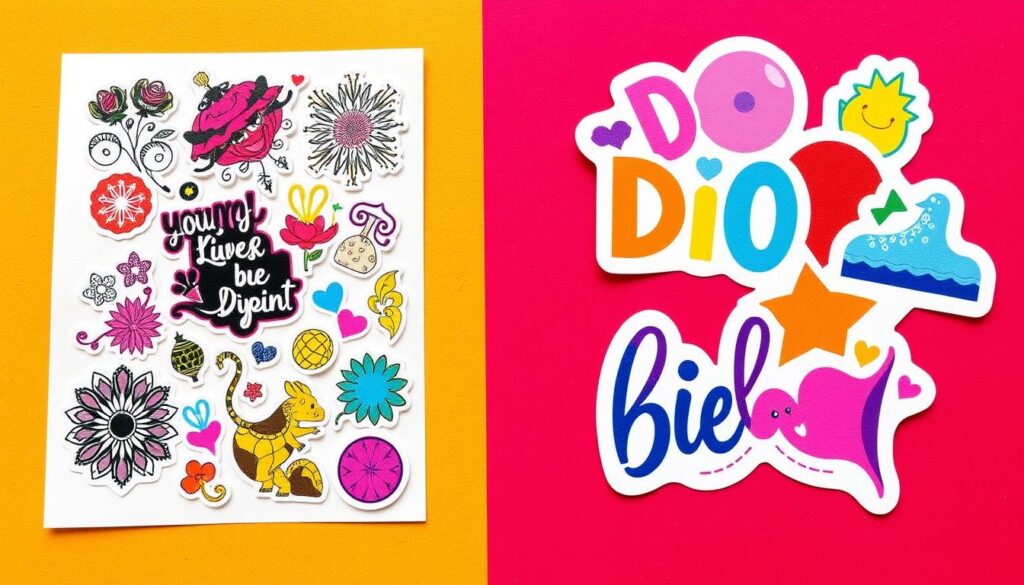
When making your own stickers, you have two main cutting methods: kiss-cut and die-cut. Knowing the differences between these can help you pick the right one for your DIY projects.
Kiss-Cut Stickers
Kiss-cut stickers are made by cutting just the top sticker layer, leaving the backing sheet intact. This makes it easy to have many sticker designs on one sheet. They are also simple to peel off the backing, making them great for labels, logos, and basic designs.
Die-Cut Stickers
Die-cut stickers, on the other hand, are cut out along the design’s edges, separating each sticker from the backing. This gives them a polished look, perfect for standout designs, custom shapes, and branding. Though they cost more, they are also more durable and can handle the weather better than kiss-cut stickers.
| Feature | Kiss-Cut Stickers | Die-Cut Stickers |
|---|---|---|
| Cost | Cheaper | More Expensive |
| Peeling Ease | Easier to Peel | Less Easy to Peel |
| Durability | Less Durable | More Durable |
| Cutting Process | Simpler, Faster | More Complex, Slower |
| Shapes | Standard Shapes | Custom Shapes |
| Backing | Intact Backing Paper | No Excess Backing |
When deciding between kiss-cut and die-cut stickers, think about your budget, how you plan to use them, and how much customization and durability you need. Both types have their own benefits. Knowing the differences helps you choose the best option for your sticker projects.
Sticker Paper Types and Finishes
Choosing the right sticker paper is key to making your stickers look great and work well. There are many options, from matte to glossy, and even weatherproof and clear. Each type has its own look and feel, so you can pick what fits your design and style.
Weatherproof Matte Inkjet (WJ) paper is a favorite for its tough, waterproof surface. It’s great for stickers that will be outside or used a lot because it prints colors vividly.
Standard White Matte (WX) paper is a budget-friendly choice that still prints colors well. It’s a good pick if you want quality without spending a lot.
- Brown Kraft (BK) sticker paper has a natural look, perfect for designs that feel organic or rustic.
- Glossy materials like White Gloss Inkjet (WG) and Weatherproof Gloss Inkjet (WI) give a shiny, eye-catching look with bright colors.
- Clear sticker materials let your design shine, changing how your stickers look.
Inkjet materials might not be weatherproof on their own, but you can add a protective layer. You can also choose clear matte or clear gloss for stickers that pop in unique ways.
| Sticker Paper Type | Key Features |
|---|---|
| Weatherproof Matte Inkjet (WJ) | Waterproof, tear-resistant, vibrant colors |
| Standard White Matte (WX) | Cost-effective, high-quality color printing |
| Brown Kraft (BK) | Natural, organic, rustic look |
| White Gloss Inkjet (WG) | Professional, eye-catching finish |
| Weatherproof Gloss Inkjet (WI) | Weatherproof, vibrant colors |
| Clear Matte | Unique, see-through design with vibrant colors |
| Clear Gloss | Unique, see-through design with vibrant colors |
Knowing about the different sticker paper types and finishes helps you pick the best one. This way, you can make your sticker material options look and work exactly as you want.
Sticker Design Software and Tools
Creating your own stickers offers a variety of software choices. Canva is easy to use, letting you start from scratch or pick from many templates. Cricut Design Space also lets you start from scratch or use a wide range of images, fonts, and projects.
For those who design stickers often, Adobe Creative Cloud is a top choice. It includes Photoshop and Illustrator, offering advanced tools for detailed sticker designs. These tools help you edit vectors, manage layers, and design complex stickers.
Canva
Canva is a great online tool for making stickers. It’s easy to use, thanks to its drag-and-drop interface and huge library of templates, graphics, and fonts. It’s perfect for beginners and experts alike, helping you create custom stickers with ease.
Cricut Design Space
Cricut Design Space is designed for making custom stickers and more. It lets you start from scratch or use a huge library of designs. You can also import your own artwork. It’s great for crafters and DIY fans, thanks to its precision cutting.
Adobe Creative Cloud
Adobe Creative Cloud, including Photoshop and Illustrator, is for those who want the best. It offers top-notch vector graphics, layer management, and special features. While it’s more challenging to learn, it gives you the power to create stunning stickers.
| Software | Key Features | Skill Level |
|---|---|---|
| Canva |
|
Beginner |
| Cricut Design Space |
|
Intermediate |
| Adobe Creative Cloud |
|
Advanced |
Creative DIY Sticker Ideas
Creating your own custom stickers is a fun craft in today’s world of personalization. You can decorate your stuff, brand your products, or even package them. It’s a great hobby for artists, crafters, and business owners alike.
Since the COVID-19 pandemic, making your own stickers has become very popular. People love to decorate things with their own designs. You can find stickers in many styles, from holiday themes to fun animal designs.
Making your own stickers is a creative and rewarding activity. You can use different materials like glue, tape, and paper. You can draw by hand or use digital tools like Canva or Adobe Illustrator.
Now, you can even make money from your sticker creations. Sites like Etsy and personal websites let you sell your designs. This way, you can reach people who want unique stickers for their planners or collections.
In short, the world of stickers is full of creative ideas and opportunities. It’s a great way to express yourself, personalize your items, or even start a business. The possibilities are endless.
Tips for Making Durable, Long-Lasting Stickers
Making your own custom stickers is fun and rewarding. But, making them last long is crucial. Here are some tips to help you create durable stickers:
- Choose the Right Sticker Paper: Pick weatherproof, vinyl, or other long lasting stickers materials. These are good against water, fading, and wear.
- Seal with Lamination: Sealing your sticker designs with laminating sheets or sealants helps. It makes them more resistant to sticker durability issues like water damage and scratches.
- Add an Offset Layer: Adding an offset layer to your sticker design helps. It prevents the edges from peeling up over time, keeping them firmly in place.
By following these simple steps, you can make durable stickers that look great and last long. With the right materials and techniques, your homemade stickers can be long-lasting and useful in your projects.
“Investing in the right sticker paper and sealing your designs can make all the difference in the longevity of your handmade stickers.”
The secret to long lasting stickers is careful planning and execution. By focusing on durability, you’ll enjoy your custom stickers for years.
Conclusion
In this guide, we’ve delved into the world of DIY sticker making. You now know how to get started, design, and print your own stickers. This knowledge lets you add a personal touch to your items, packaging, or promotional materials.
Whether you want to start a sticker business or just make your own, this guide has you covered. You’ll learn how to make durable stickers that show off your style. With the right tools and software, your stickers will stand out.
Start your sticker-making adventure with excitement and a willingness to try new things. The fun is in the making, not just the end product. It’s about expressing yourself and adding your unique touch to the world. So, go ahead and explore, and make everything your own.
FAQ
What materials do I need to make stickers?
To make your own stickers, you’ll need a few things. You’ll need sticker paper, scissors or cutting tools, and a color inkjet or laser printer.
What design tools can I use to create my own sticker designs?
You can use illustration tools like Wacom Intuos drawing tablets or an iPad Pro with an Apple Pencil. You can also use design software like Canva, Cricut Design Space, or Adobe Creative Cloud. These tools help you create unique sticker designs from scratch.
What is the difference between kiss-cut and die-cut stickers?
Kiss-cut stickers cut through the top sticker layer but not the backing sheet. This lets you have multiple designs on one sheet. Die-cut stickers, however, are cut to the exact shape of the design. They don’t have any extra background, making them look more polished and professional.
What types of sticker paper can I use for my DIY stickers?
There are many sticker paper options. You can choose from matte, glossy, weatherproof matte, kraft, clear, laser printable, removable white matte, and recycled white matte. Each type has a different texture and finish. Think about what you want your stickers to look like and choose the right paper for your project.
What software can I use to design my own stickers?
You can use software like Canva, Cricut Design Space, or the Adobe Creative Cloud suite (Photoshop and Illustrator). These tools let you create and customize your sticker designs.
How can I make my homemade stickers more durable?
To make your stickers last longer, you can seal them with laminating sheets or sealants. This helps protect them from water, fading, and tearing. Also, picking the right sticker paper, like weatherproof or vinyl, can make your stickers more durable and long-lasting.
Resources:
Explore our curated list of recommended resources for printing, design, and free media assets. Whether you need professional printing services, free design templates, or royalty-free photos for your next project, these reliable sites have you covered.1. Printing & Design
- Printing Inc. Description: Singapore-based online printing service offering a variety of print products such as business cards, flyers, brochures, and custom stickers with professional design services.
- Namecards Inc. Description: Specialist in name card printing, providing a wide range of custom designs, finishes, and materials for high-quality business cards.
- Kian Hong Press Description: Established corporate printing company in Singapore, offering solutions for brochures, catalogs, annual reports, and other corporate stationery.
2. Free Design Templates
- Canva Description: Offers a wide range of free and customizable templates for various needs, including presentations, posters, social media, and marketing materials.
- FreePik Description: Provides thousands of free and premium templates for brochures, flyers, business cards, and more, along with editable vector illustrations and graphics.
- Piktochart Description: Focused on data visualization and professional templates for infographics, posters, presentations, and reports, with both free and premium options.
3. Free Royalty-Free Photos
- Pexels Description: Offers high-quality, free stock photos and videos shared by talented creators for commercial and personal use without attribution.
- Unsplash Description: A large collection of beautiful, high-resolution images contributed by photographers worldwide, available for free use in any project.
- Pixabay Description: A community-driven platform offering copyright-free photos, illustrations, and videos for use in any creative project, with no licensing restrictions.

